Tuesday, June 6, 2017

Setting a gore into a slit

It isn't my intention for this blog to turn into tutorials; I'm much more focused on sharing *why* I make the decisions I do; there are enough tutorials on the internet.

However, sometimes the muse grabs me, and I go.

Occasionally in historical costume one is expected to sew a triangular gore into a slit in the fabric.  The following is my method.

The seam allowance for the gore is 1/2" on both straight sides.  The seam allowance for the slit starts at 1/2" but gradually becomes nearly nothing at the point of the gore.

This garment will be lined, so I'm sewing both the outer fabric (purple wool) and the lining (black linen) of the gore as if they were one. I basted them together along the stitching line, which also gives me a good guideline.  (I'd baste along that line whether I was doing one layer or two.)


 I've pinned the right side of the gore to the right side of the slit. You can *just* make out how the edges don't match up: the right side is bluer, the wrong side redder. The right side of the gore sticks out more and more as you go down along the (future) seam.  The gore is on the BOTTOM. This is important.


I folded back the garment  so it's easier to see the gore, and the basted stitching lines.  I want the end of the slit to wind up centered between the two stitching lines, ideally just before the point where the two stitching lines cross.  I marked that spot where the lines cross with a pin (not shown) so I can see where to stop sewing.

Here I've stitched to the spot I marked with a pin, and turned the whole thing around so that what I just sewed is near me.  The needle is down, to make a good pivot point, and the presser foot is up to allow the fabric to move freely.


Because  the slit ended *before* the crossed stitching lines, and I stopped sewing just past that, I need to clip the last little bit of the slit.  It's better to sew then cut, for precision.


Then, keeping the top layer aligned as in the photos above (so you can sew forward down the other leg of the slit), rotate the gore counter clockwise under everything...

rotate rotate rotate
 ...Until the other edge of the gore matches up with the second leg of the slit.
 And sew that seam, maintaining 1/2" seam allowance on the gore, and going from nearly nothing to 1/2 inch on the slit.

When done, the back should look like this (remember, my gore is backed with black linen):


And the front more or less like this (it'll look better when pressed):


Thursday, May 11, 2017

Spontaneous Muppetry

So I got a text yesterday morning:
"Hmm.. I need a Muppet costume by tomorrow. Ideas?"

I was inspired by this Instructable, though it's not a particularly detailed tutorial, and I wound up just using the general concept and winging it.

Materials: Shirt, hat, stiffened felt (I couldn't find craft foam?!?), feather boas (2), ~1 yd. fleece.  Not pictured: individual feathers, 3" white and 2" black pompoms, remnant of black marabou boa.
This is not the shade of blue I would have preferred, but it was the one that I could find in feathers, fleece, and shirt.
Rough out a beak out of paper, adjust, cut it out of felt.  It's glued together and attached to the hat with hot glue.  Most of the assembly is hot glue, which isn't a thing I would have predicted saying.


Excess brim removed.  

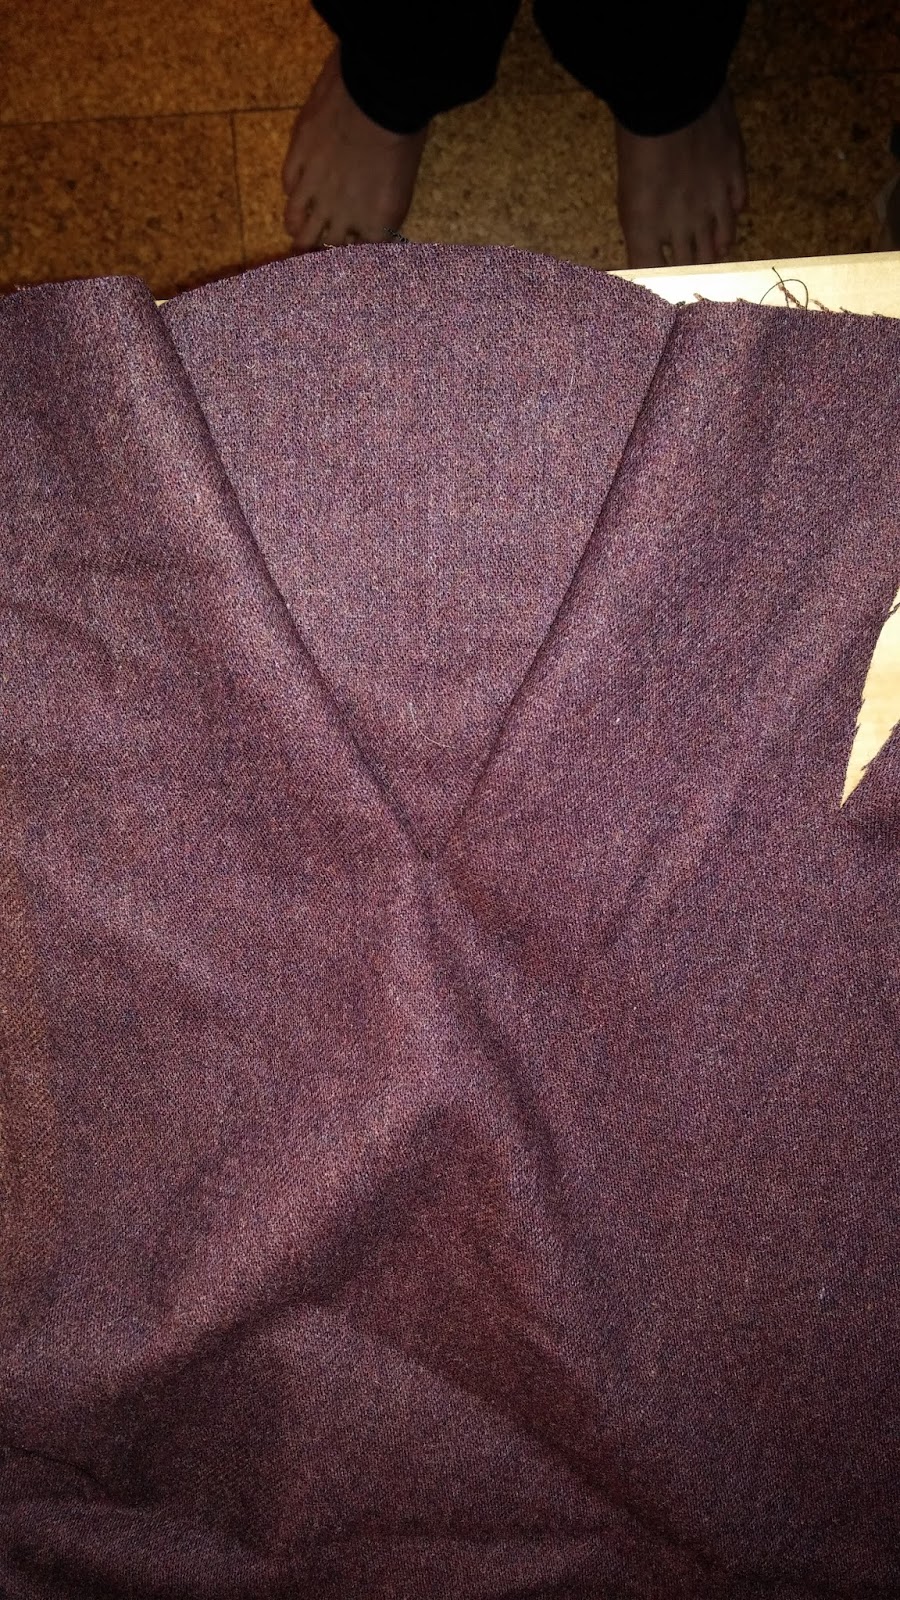
Begin positioning fabric over the form.  Where there are pins now, there will soon be glue underneath
 
Here I've glued along the ridge of the beak, and where the beak meets the crown of the hat. Pins position the next bit, until I pull the fabric back and glue the next bit
 
Action shot!  In general, I glued along the seams of the hat.

Wrapping the fabric around the brim, trimming to shape

Cut slits to work out the large folds of fabric


Glue everywhere.

And apparently that's all you get to see.  The two halves come together and bridge the gap under the end of the beak, but you're just going to have to take my word for that.


Looks pretty good!   Ah, you can see my high-tech head form in the background: a small steel bowl balanced on top of an oatmeal canister. 

 I also didn't document wrestling with the feathers, probably because it was really messy.  The original Sam the Eagle has a row of feathers low around his head, curling out and downward.  The feathers I was able to get are either split down the middle, causing them to spiral, or pretty darn straight.  I used a spoon to gently curl the straight feathers, did a rough sort by length (so the shortest would be in front) and glued them to the edge of the hat before I glued the fabric down.  They don't quite hang right, but I think they get the point across.  I wound up working through the entire bag of crappy craft feathers, breaking a bunch of them while trying to curl.  It was a huge mess.  Feather bits everywhere.  The cats loved it.


 The bill is a little long, but I couldn't make it any shorter without cutting a *lot* of baseball cap brim...which I would do, if I were doing this over again.  I was needlessly intimidated.  I'm also not giddy about how the fabric went over the crown of the cap. It has a little bit of a peak over the button, and Sam's head is very flat on top.  Oh, well.


While the length *is* a problem, I can position the eyes to make the bill look a little shorter.

The eyes are stacked pom-poms, with little sausages of fleece to make the lower lids/bags.


 I wanted to build the eyes completely, separately from the rest of the hat.  I needed to be able to see what they would ultimately look like, to position them appropriately, so I bult them on a base of the felt.


3" semicircles of felt to use as a base., 4" x 6"  strips of fleece rolled up a little along one edge.

 The corners of the rolled piece are glued to the corners of the semicircle, and (when flipped over) the roll itself is massaged into a good shape, and the raw edges cut off.


 I tried smashing the pompoms flat with books to avoid the snowman effect, but it really didn't work.  So instead, I actually took a NEEDLE and THREAD and stitched through all layers, pulling the thread tight and tying it off.
 
After stitching, and before.


Finally, eyes glued in place and topped off with a bit of black marabou boa leftover from another project.


 I didn't think to document building the wings.  They're just sleeves, attached at the front and back, meant to be worn over the blue t-shirt.  I ran one boa along top edge of both sleeves and across the front, the other went about 2" below the first in the back, and (obviously) across the back.
Here's where it stood, at five o'clock, six hours after I returned from the fabric store.


We weren't sure what to do with the bottom half, though.  I suggested shorts and flipflops, to represent the puppeteer, but then we found star-spangled swim trunks.  By some fluke, I had chicken leg socks (intended to be a gift for my mom, but she can wait for another pair), and the American flag sandals were the obvious finish to the outfit.  Once home from the shopping spree, I decided making the lower jaw wouldn't be that hard, and, in fact, it wasn't. 


It is possible that Sam the Eagle is the favorite Muppet of the guest of honor of the Muppet-themed going-away party this is for.  I've told the recipient that he's welcome to give the costume to her; it's hilarious, and I'm proud of it, but I *don't* want to store the damn thing!  Ugh, the feathers!


Backlog progress

I'm utterly failing at getting two "two hour" projects done per day, but I am gradually picking away at the backlog.

Collar, replaced with a black linen that happens to be faded to a similar degree
Before


 After

Linen cote, terrible photo, done save buttons and buttonholes. (Set aside until I find the pewter buttons I had planned for it)

Trousers, hemmed and pressed.  (Though I think I'm going to re-do the hem, it's far more visible than it should be.)

Jacobean jacket, done save hooks and eyes.  Set aside until said hooks and eyes arrive, having been ordered.

Lacing strips for fitting corsets, started and abandoned, now finished.
before

after
 Repair of torn-out eyelets, I forgot to get a "before" photo, but some of the damage is still visible on the "outside" photo.


outside

inside

Friday, April 28, 2017

Hems, corsets, progress.

I finished the corset!  There really was just about two hours left in that project.


...Oh.

Okay, hang on, it's not as bad as it looks.  I mean, it fits as badly as it looks like it does, but this was the mockup.  And one of the risks of making a functional mockup is that you sometimes end up with a finished corset that doesn't actually fit.

I'm trying to work out a system for sizing corsets when there's only one pattern given (as is usually the case when the pattern was taken from an extant item).  I used that method here, and clearly got things wrong.  Looking at my pattern vs. the "real" pattern may help me figure out *what* went wrong, but unfortunately, this project has been sitting around for two-ish years, and I don't actually REMEMBER what I was thinking when I drafted my pattern.  So it's not even useful as a learning experience.

Well, okay, it still is.  The lesson is not to let experiments sit for two years without documentation.

Good news: I have more of the fabric.
Further good news: I have many friends, surely this will fit one of them. 

Onward.
Hey, another corset done.  This one just needed binding.  Bam.  Done.


Look at that miter!  Perfect!  One day, I'll do a tutorial.  Today is not that day.
 And hey, it's kind of a cute shape!

Right.
Next!

Linen 14th Century man's cote, for the spouse.  This time last year, this cote only needed hems (fronts, bottom, cuffs) and buttonholes and buttons.  Now it's just cuffs and buttons/holes.

Making progress, one project at a time.  Or sometimes two.

1840s corset

I made a corset to be the foundation of an 1840s costume for Dickens Fair.

I scaled a pattern from Norah Waugh's Corsets and Crinolines to my measurements (I'm working on a method of adapting historical patterns that only come in one size), and made a mockup.

Well, sort of.  With this particular corset, there's not much additional work between "mockup" and "functional corset," so my first version of this pattern was the completed corset.  Which, predictably, didn't fit.


I have got to find a place to put a full-length mirror that isn't opposite a bright window.

However, for a corset that doesn't fit, it's kind of not bad.  I actually *really* like the shape, or the shape I think it'll have when I make it the right size.  Among other things, I think it'll make a good foundation for a Wonder Woman cosplay.

But as for WHY it doesn't fit: well, it's too big around, which was clearly just an error on my part.  It only constricts very slightly before the edges meet in the back.  I need to remove two inches from the waist circumference. 

The bust is both too big and too high, and I think these are related.  See, the problem with scaling up period patterns is that the dimensions aren't marked.  You can't tell from the pattern pieces exactly where the waist line is, where the bust is.  I think I measured the pattern's bust, and distance from waist to bust, a little below the actual fullest point (see how it dips under the armpit? If I measured there, I was below the fullest point), but measured my own bust at the *actual* fullest point, my modified pattern would have the bust too high and too full.  Which is what we have.

The hipline is pretty good: still too big, but it's a nice line.

And the effort wasn't wasted.  I already found a friend to take it off my hands.  :)

Thursday, April 27, 2017

Craft room cleanup, and two-hour projects

My craft room has cluttered itself to unusability, so I'm cleaning and reorganizing.  The problem I have is that there's too much stuff.  There aren't enough places to put everything away.  So I need to do some stuff reduction, or at least consolidation, with a side of "why is that even in here, that doesn't belong here."

Along the way, I'm finding lots and lots of unfinished projects.  So for the next few weeks, I'm going to be focusing on little things that can be finished quickly. Garments that weren't *quite* ready for their event, and were abandoned at a late stage. Tiny alterations and mends. Briefly, projects that have less than two hours' work left in them.

If I can do just two "two hour" projects every day (with the understanding that some will inevitably turn out to be "Whoops! Six hours! Surprise!") I should be able to clear out my backlog in...oh...six and a half years.

But anything is better than nothing.

...right?

Today's two-hour project:
This pile of pieces
Holy terrible photo quality, Batman!
became this Jacobean jacket.


This was NOT a two-hour project.  Something like four? And I think there's about an hours' worth left, with sewing the lining in at the armscye, and hemming and cuffs.  And beyond that, it could really use some decorative stitching on the seams, but that can happen later.

And when I needed a break from purple wool, I worked a little on this corset I started for Dickens Faire, two(?) years ago.


Monday, April 24, 2017

Needlekind Specibus: The Pages

I made pages for the Strife Specibus binder, including some good process shots, but I'm kind of done with this project, so you're going to get some pictures without commentary.


I thought I had pictures of the finished interchangeable/circulars page, but apparently not.
Anyway.  Done.

Oh, that's better

This is my third completed tesseract.  The second wasn't particularly successful, and not really worth talking about right now. There ar...