However, sometimes the muse grabs me, and I go.
Occasionally in historical costume one is expected to sew a triangular gore into a slit in the fabric. The following is my method.
The seam allowance for the gore is 1/2" on both straight sides. The seam allowance for the slit starts at 1/2" but gradually becomes nearly nothing at the point of the gore.
This garment will be lined, so I'm sewing both the outer fabric (purple wool) and the lining (black linen) of the gore as if they were one. I basted them together along the stitching line, which also gives me a good guideline. (I'd baste along that line whether I was doing one layer or two.)


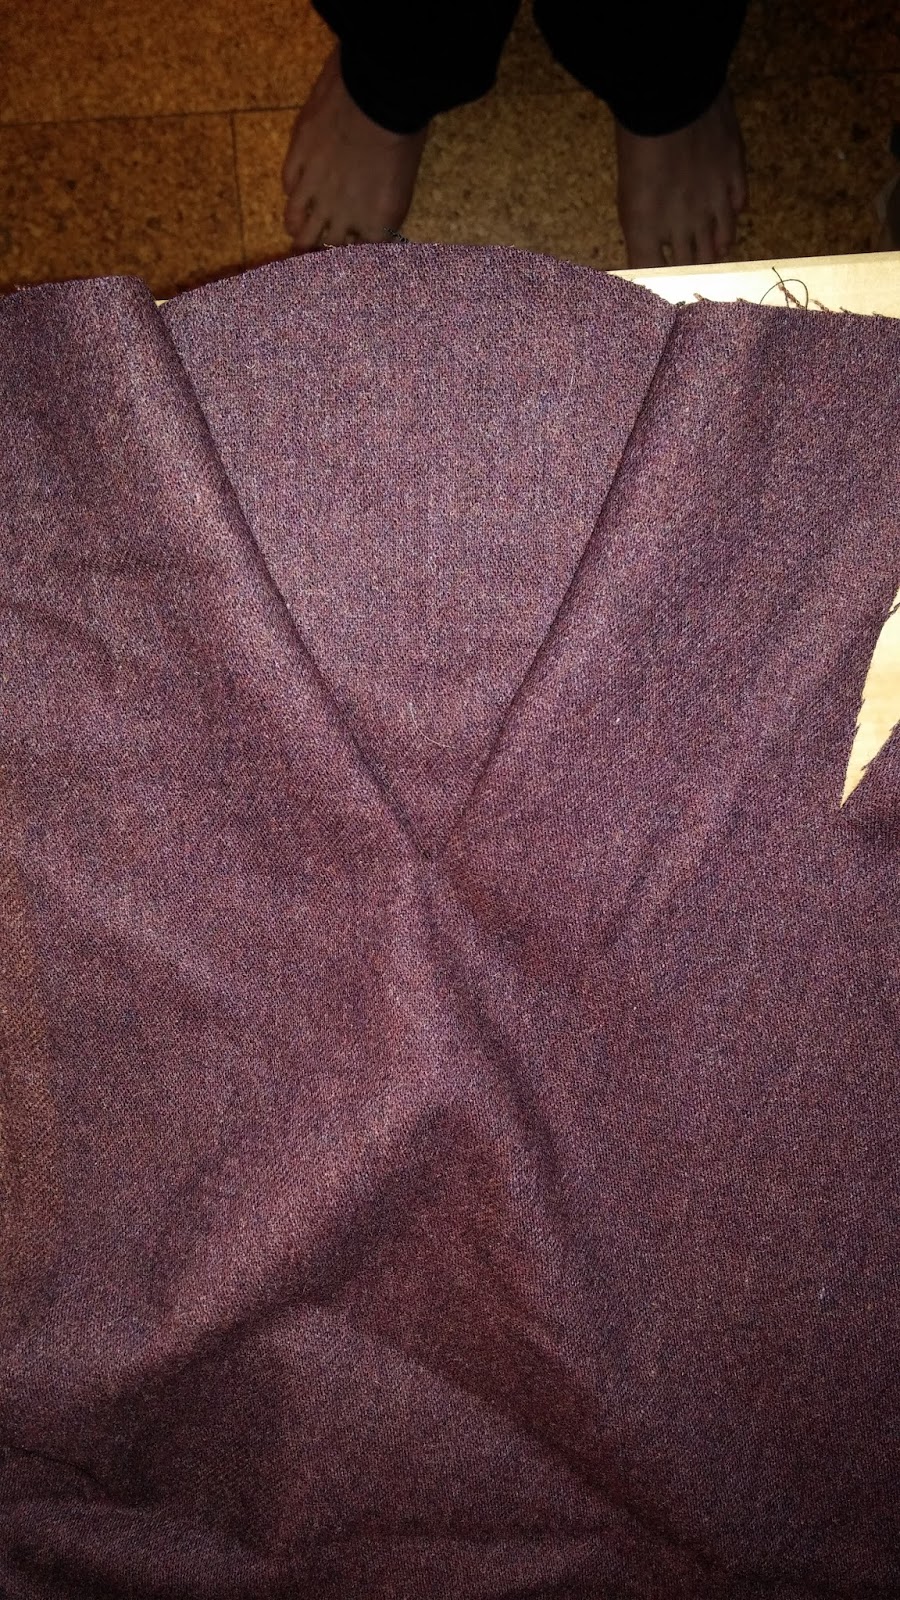
I folded back the garment so it's easier to see the gore, and the basted stitching lines. I want the end of the slit to wind up centered between the two stitching lines, ideally just before the point where the two stitching lines cross. I marked that spot where the lines cross with a pin (not shown) so I can see where to stop sewing.

Here I've stitched to the spot I marked with a pin, and turned the whole thing around so that what I just sewed is near me. The needle is down, to make a good pivot point, and the presser foot is up to allow the fabric to move freely.

Because the slit ended *before* the crossed stitching lines, and I stopped sewing just past that, I need to clip the last little bit of the slit. It's better to sew then cut, for precision.

Then, keeping the top layer aligned as in the photos above (so you can sew forward down the other leg of the slit), rotate the gore counter clockwise under everything...
 |
| rotate rotate rotate |

When done, the back should look like this (remember, my gore is backed with black linen):

And the front more or less like this (it'll look better when pressed):


No comments:
Post a Comment